Getting Started with Brigador Killers
Your first hour in Early Access: structure, systems, and survival basics.
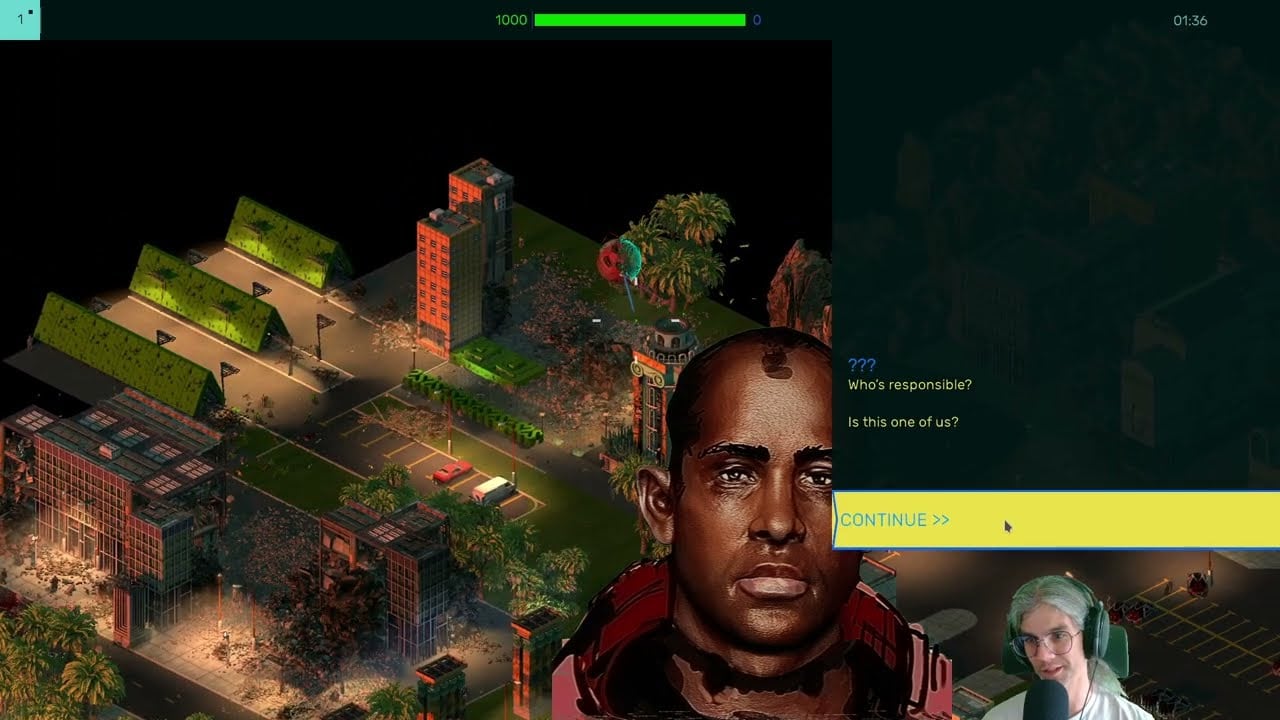
Brigador Killers launched into Early Access on August 20, 2026. This isometric insurgent simulator from Stellar Jockeys and Gausswerks puts you behind enemy lines in Mar Nosso as part of Team Anchor. You fight on foot and in stolen or fabricated vehicles while assembling a private arsenal. The tone sits between classic Brigador violence and boots-on-the-ground infiltration. This getting-started guide assumes you bought or downloaded the game on Steam, GOG, or itch.io and want a clean first hour.
Campaign structure at Early Access launch
The Early Access build includes two main experiences:
- OBSTACLE 1 — a tightly directed six-mission introduction with short narrative beats, an explosive opening, and a punchy finale. Expect roughly fifteen minutes if you stay on task. This was also in the demo.
- THE GARAGE — a semi-sandbox with no fixed story spine. You expand a hideout, deploy on remixable missions, salvage parts, fabricate vehicles, mount guns, and chase harder content for hours.
Early Access adds approximately five new missions continuing the Team Anchor story. After the demo’s explosive finale, surviving members fight through the Mar Nosso undercity using new tilesets before returning to a garage-style hub. Familiar demo missions return remixed—Crow’s Field keeps its role as a low-gear entry point but changes spawn points, exits, and enemy factions.
New players should finish Obstacle 1 before treating The Garage as the main loop. Obstacle 1 teaches interaction distance, inventory pressure, and foot combat feel without burying you in Fabricator recipes on day one. When ready for the long session, jump to the Garage Guide and the Obstacle 1 Walkthrough.
Hardware, input, and comfort settings
Play on Windows for the supported path. Linux support is expected later; several users report success through WINE. Controllers have limited support, but Stellar Jockeys recommends mouse and keyboard as the intended experience. Movement is cursor-relative on foot, aiming uses right mouse button, and inventory management expects precise clicks.
Learn the default binds in Controls: WASD move, Shift sprint, Ctrl or C crouch, Z prone, E interact, Tab inventory, right mouse aim, left mouse fire. Pause with Esc to rebind anything that fights your muscle memory. Press V to toggle align-to-mouse if relative movement feels wrong. If the action feels too frantic, use the game-speed slider to drop the pace to 50%.
First-hour checklist
- Complete OBSTACLE 1 once without restarting mid-finale so you see the teaching beats.
- Enter THE GARAGE and walk the pads: Armory, gantries, mission selector, then Scrapper and Fabricator after the intro unlocks them.
- Park a free or scavenged vehicle on a gantry. Anything left loose on the floor can vanish if you deploy without saving correctly.
- Open the Armory, equip a modest primary, load ammo, and leave exotic guns in storage until you understand death risk.
- Run Crow’s Field or another low-tier mission as a gear recovery loop after losses.
- Only then attempt Merchant Causeway or high-value depots with a vehicle that can haul crates.
Why death hurts
Early Access applies inventory loss when a mission fails. Gear and vehicles you bring in can be stripped down to a loyalist kit, though unlocked suit upgrades remain available to re-equip from the Garage. That design is intentional: you should think about what you deploy with, not treat every run as a free reset. Pair this page with Inventory and Loadouts before taking a rare mount into a noisy assault.
Systems you will touch every session
- Armory pad — store and retrieve weapons, load ammo, mount guns on hardpoint vehicles, deposit gantry expansion kits and key items that unlock combat rigs.
- Gantries — one vehicle per slot; expansion kits unlock more after extract and deposit.
- Scrapper — strip salvaged vehicles into parts and components.
- Fabricator — spend parts to build chassis from scratch or upgun platforms such as a Liliputter into a technical.
- Merchant Causeway — spend weightless credits, then fight NOSPOL on the way home.
Deep dives live in Salvage and Fabricator and Mount Weapons. Combat posture and extraction habits are covered in Combat Tips.
Vehicle progression path
Start with the Panel Van for basic storage. Work toward the Loader Variant for significantly more cargo capacity with two large crates and an additional small crate. The Party Van offers durability for serious farming runs. For firepower, learn to hijack enemy vehicles rather than destroying them—the battlefield is a warehouse full of weapons.
Read Salvage and Fabricator for the scrap-to-parts-to-vehicle loop, and Vehicles Tier List for chassis rankings.
Early Access expectations
The game is live but still in development. Expect balance changes, potential progression wipes, UI improvements, and content additions over the coming months. Stellar Jockeys expects to remain in Early Access through the rest of 2026 with no confirmed 1.0 date. Treat your progress as practice for the systems, not a permanent investment.
Wishlist friends, play the missions, then return to this wiki when you need a precise answer instead of another spoiler dump.
Frequently Asked Questions
Quick answers to the most common questions.
Should I play Obstacle 1 or The Garage first?
Play OBSTACLE 1 first. It is the short systems tutorial. THE GARAGE is the multi-hour sandbox where salvage, fabrication, and death stakes matter.
Is mouse and keyboard required?
Strongly recommended. Controllers have limited support, but aiming, inventory, and pad interactions are designed around mouse and keyboard.
Is Brigador Killers out now?
Yes. Early Access launched on August 20, 2026 on Steam, GOG, and itch.io at USD 24.99 with a 10% launch discount.
What happens if I die on a mission?
Mission loadouts and brought vehicles can be lost. Unlocked suit upgrades remain; re-equip from the Garage and rebuild carefully.
Where do I go after this page?
Read [Controls](/guides/controls/), then the [Obstacle 1 Walkthrough](/guides/obstacle-1-walkthrough/) and [Garage Guide](/guides/garage-guide/).