Brigador Killers Obstacle 1 Walkthrough
Clear the six-mission tutorial campaign and graduate into The Garage.
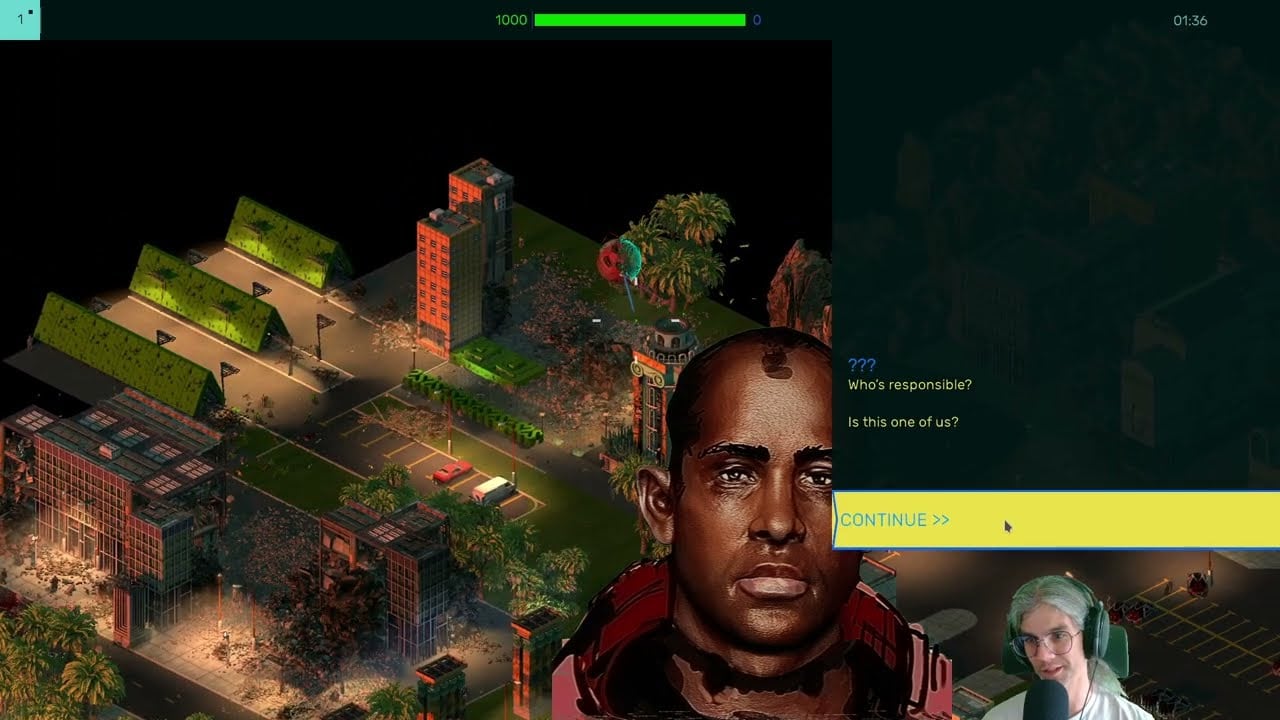
OBSTACLE 1 is the Brigador Killers demo’s directed introduction. Stellar Jockeys describes it as a tightly paced six-mission campaign with short narrative beats, an explosive opening, and a loud finale, usually around fifteen minutes if you stay focused. It exists to teach movement, interaction distance, inventory pressure, and the tone of Mar Nosso before THE GARAGE asks you to manage pads, salvage, and death-staked loadouts for hours.
This walkthrough avoids spoiling every radio line. Instead it tells you what each phase is trying to teach, what to watch for mechanically, and how to reset progress if an older save confuses the tutorial state.
Before you deploy
Confirm you selected OBSTACLE 1 from the campaign list, not THE GARAGE. If you previously finished Obstacle 1 on an older itch or demo build, use Reset Campaign Progress on that campaign from the main menu so dialogue and mission gating match the current tutorial. Read Controls once if you have never raised a weapon with right mouse button in this game—many softlocks are actually missed aim inputs or cursor placement failures.
Mouse and keyboard remain the recommended path. Controllers may function, but Obstacle 1’s teaching moments assume precise E interacts and Tab searches.
Mission flow and teaching goals
Treat the six missions as a ladder:
- Orientation and violence cold open — Learn camera framing, cursor-relative movement, and that Brigador Killers will not shy away from gibbing. Stay calm; the opener is spectacle and tone more than a gear check.
- Interaction and loot literacy — Practice standing close enough for glow highlights, parking the cursor on the object, then pressing E or Tab. Bodies, crates, and vehicles all teach the same proximity rule.
- Foot combat basics — Raise weapon with RMB, fire with LMB, crouch for accuracy, sprint only when you accept that you cannot shoot while sprinting. See Combat Tips if exchanges feel unfair.
- Team Anchor narrative beats — Listen to the radio chatter. Obstacle Build notes call out chatting with Team Anchor during the campaign; those lines contextualize why you are disrupting corporate control rather than playing a pure score-attack shooter.
- Vehicle taste test — Expect at least one stretch where entering a vehicle changes your movement model. Remember A/D turning and Shift acceleration on many chassis, and exit on foot when you need crate or objective interaction.
- Finale pressure — The closing sequence is meant to feel explosive. Conserve a usable firearm, keep a reload habit (R), and do not open Tab in the open when enemies still have angles.
Exact map names can shift between demo updates. If a mission title differs from an older video, trust the in-game selector order and the teaching prompts rather than a mismatched thumbnail.
Practical tips while learning
- Do not speedrun blind. Fifteen minutes is short; dying repeatedly because you skipped a prompt costs more time than reading the glow.
- Search before you leave. Tab SEARCH / OPEN CONTAINER prompts appear near defeated enemies and storage. Gibbed bodies spill loot onto the ground instead of keeping a searchable inventory.
- Inventory is live. Tab does not pause. Duck behind cover before sorting ammo.
- Punch exists. When no firearm is raised, left click or the melee bind can punch—useful if you dropped a gun with G by accident.
- Examine lore. Some builds let you press F on weapon renders for text. Optional, but it deepens the setting without leaving the campaign.
After the finale
When Obstacle 1 completes, move to THE GARAGE. That mode is the real demo meat: gantries, Armory pad, Scrapper, Fabricator, Merchant Causeway, remixable missions, and the death loadout penalty. Start with the Garage Guide, then Getting Started if you want a first-hour checklist that bridges both campaigns.
Do not carry Obstacle 1 habits unchanged into Garage sorties. In Garage builds, failing a mission can strip the kit you brought. Treat early Garage runs as low-stakes farming with disposable guns while you learn pads. Inventory and Loadouts explains the penalty; Salvage and Fabricator and Mount Weapons cover the power curve that replaces the linear tutorial.
Troubleshooting Obstacle 1
- Prompts missing: Update to the latest demo build. Quality-of-life patches improved edge highlights and moved prompts over the player.
- Progress feels wrong: Reset Obstacle 1 campaign progress from the main menu after major hotfixes.
- Cannot interact: Check cursor hover plus distance, not only the E key.
- Want a visual reference: Community playthroughs help with pacing, but prefer written systems pages here for pad rules that videos gloss over.
Obstacle 1 is short on purpose. Finish it, breathe, then open the Garage knowing the rest of this wiki exists for the long war—not for the fifteen-minute onboarding alone.
Frequently Asked Questions
Quick answers to the most common questions.
How long is Obstacle 1?
About fifteen minutes for the six-mission intro if you follow the teaching beats without long detours.
Is Obstacle 1 the full demo?
No. It is the tutorial campaign. THE GARAGE is the semi-sandbox that can take hours for completionists.
Should I reset progress before replaying?
Yes, if you finished an older build. Use Reset Campaign Progress for OBSTACLE 1 so dialogue and gating match the current version.
What should I play after Obstacle 1?
Start THE GARAGE and read the [Garage Guide](/guides/garage-guide/) plus [Inventory and Loadouts](/guides/inventory-and-loadouts/) before risking rare gear.
Does Obstacle 1 teach the Fabricator?
It focuses on core movement, combat, and interaction. Scrapper and Fabricator depth belongs to The Garage and the [Salvage and Fabricator](/guides/salvage-and-fabricator/) guide.